Documentation
Tutorial
- Introduction
Blog
- Setup The Requirements
- Create Required Schemas
- Create Content Entries
Vanilla JavaScript App
React App
Front-end
Your First Content
Table Of Contents
Application Settings
Navigate to http://localhost:3333/options/general, http://localhost:3333/options/email, http://localhost:3333/options/login-providers, and http://localhost:3333/options/cache and make sure you have the correct settings there.
Uploading Some Files
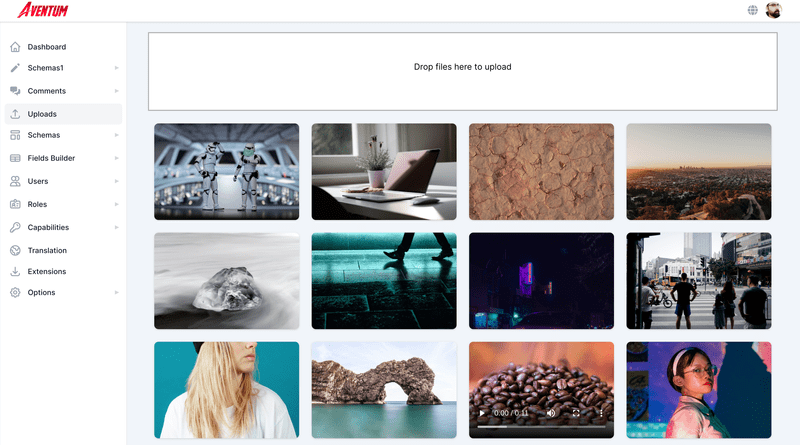
If you are going to use images/files then you can upload them upfront by navigating to http://localhost:3333/uploads and upload your files!
Create Post Schema
For every content you want to create you must create a schema for it first, we will create a simple post schema type that just contains title, featured image, and body.
First, navigate to http://localhost:3333/schemas/new to create the post schema.
In the schema title block:
We will use Posts in Content Plural Title and Post in Content Singular Title and posts in Content Plural Name which will be used internally and as a database table/collection name and as API endpoint. In SVG Icon we will put the pencil-alt icon from Heroicons:
<svg xmlns="http://www.w3.org/2000/svg" fill="none" viewBox="0 0 24 24" stroke="currentColor"> <path stroke-linecap="round" stroke-linejoin="round" stroke-width="2" d="M11 5H6a2 2 0 00-2 2v11a2 2 0 002 2h11a2 2 0 002-2v-5m-1.414-9.414a2 2 0 112.828 2.828L11.828 15H9v-2.828l8.586-8.586z" /></svg>Set Access Control List(ACL) Restrictions
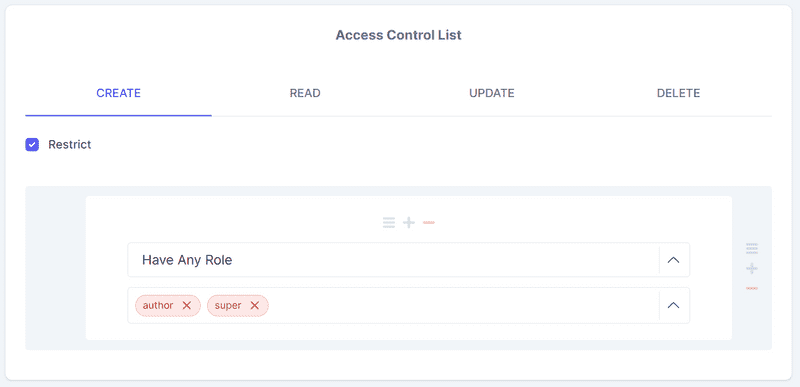
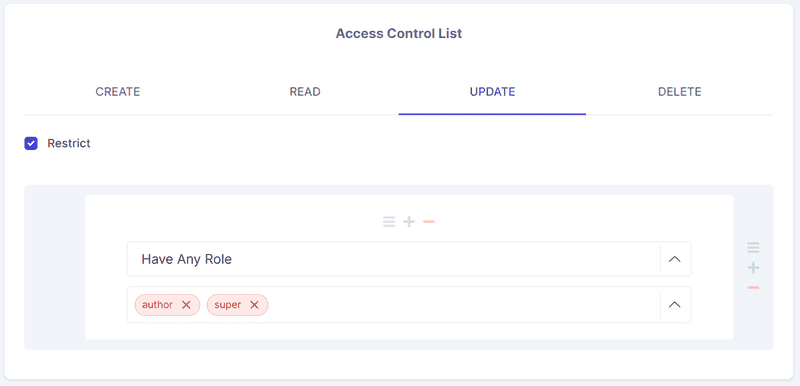
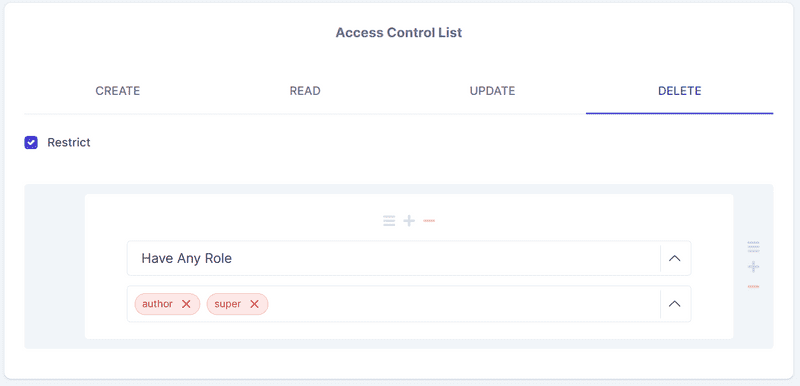
You can set the ACL restrictions for this content in the ACL section of the schema, check the Restrict option and select Have Any Role in the condition type dropdown, and select author and super roles in the condition value dropdown for the CREATE, UPDATE, and DELETE tabs of the Access Control List section, this will restrict the CREATE, UPDATE, and DELETE operations for the users that have author or super roles.
Creating The Title Field
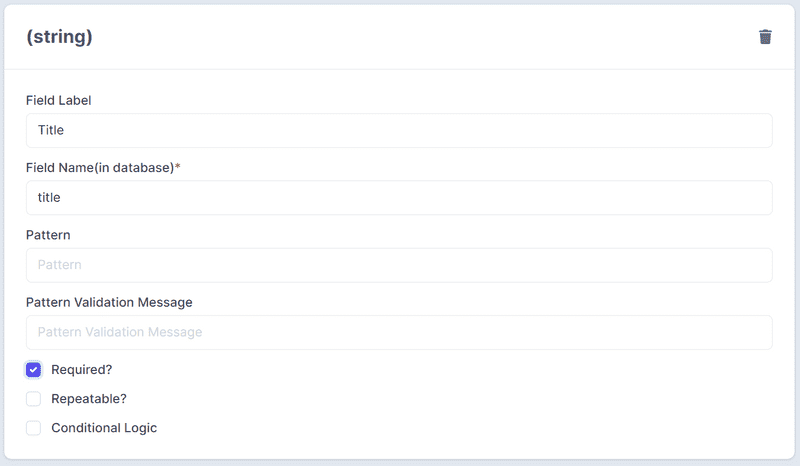
From the right sidebar click on the string button.
A string field will be created, put Title in the Field Label, and title in the Field Name(in database) and mark the field as required.
Creating The Body Field
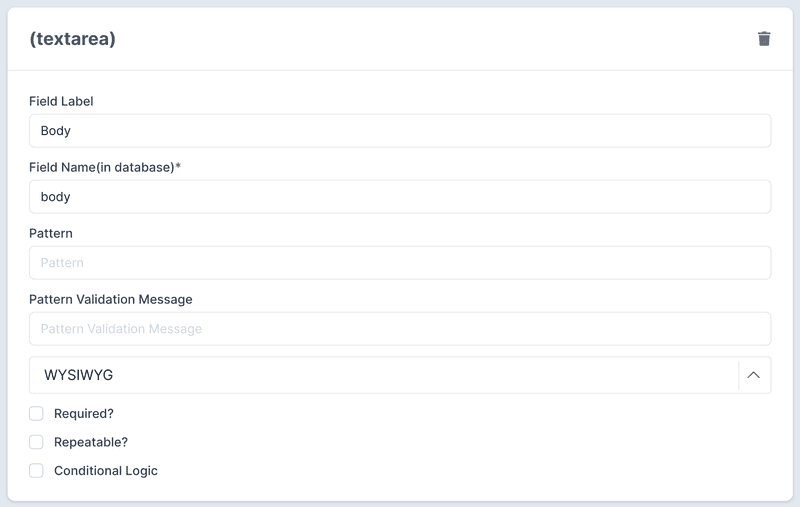
From the right sidebar click on Textarea, a new field will be created, put Body in the Field Label, and body in the Field Name(in database) and select WYSIWYG from the dropdown.
Featured Image Field
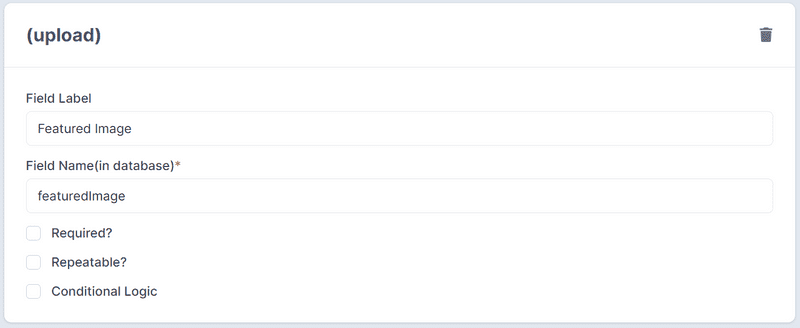
Click on the Upload button and put Featured Image in the Field Label and featuredImage in the Field Name(in database).
Save The Schema
Click on the Save button on the right sidebar.
Creating Post Content(the posts themselves!)
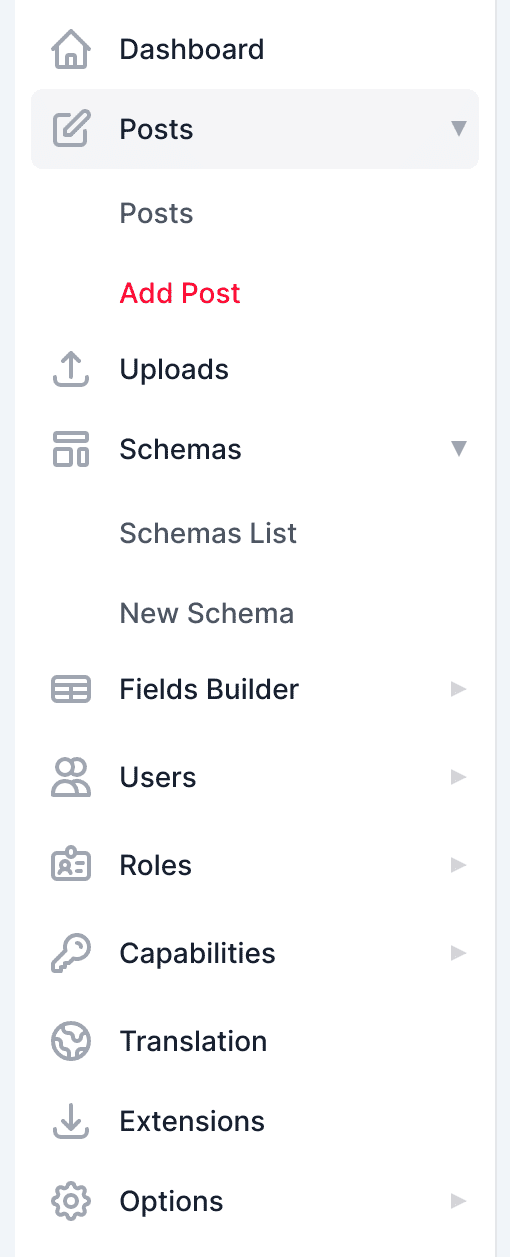
After creating the post schema it is the time to create some posts, after clicking the Save button a new item should be added to the sidebar.
If the new content didn't appear just refresh the page.
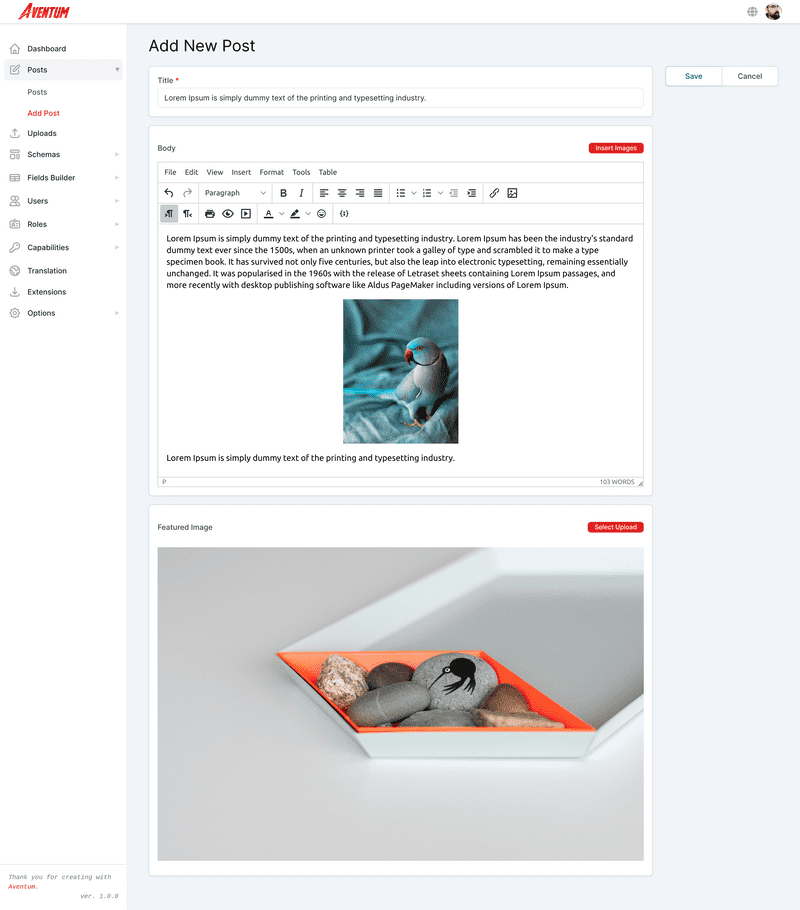
Click on the Posts icon then click on Add Post.
Fill the form fields with some data and click on the Save button.
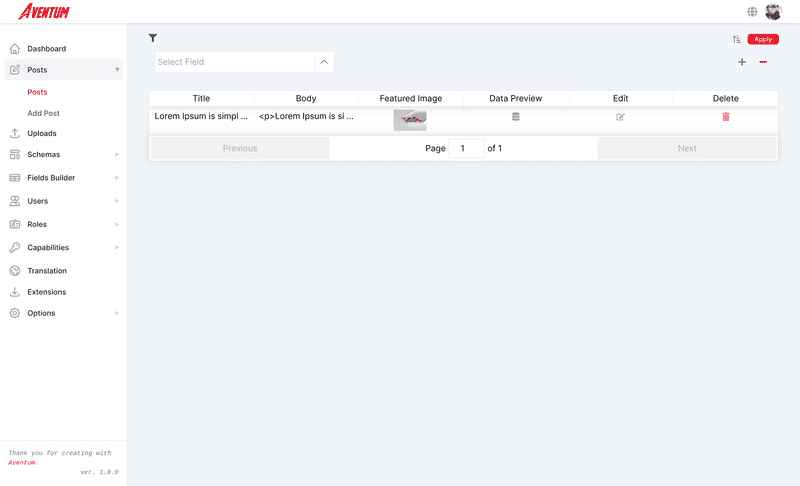
That is it! if you now click on the Posts on the left sidebar you will see your post there.
List Post On Frontend
All what you have to do is make a GET request to http://localhost:3030/posts and the result will be:
{ "contents": [ { "id": 1, "title": "Lorem Ipsum is simply dummy text of the printing and typesetting industry.", "body": "<p>Lorem Ipsum is simply dummy text of the printing and typesetting industry. Lorem Ipsum has been the industry's standard dummy text ever since the 1500s, when an unknown printer took a galley of type and scrambled it to make a type specimen book. It has survived not only five centuries, but also the leap into electronic typesetting, remaining essentially unchanged. It was popularised in the 1960s with the release of Letraset sheets containing Lorem Ipsum passages, and more recently with desktop publishing software like Aldus PageMaker including versions of Lorem Ipsum.</p>\n<p><img style=\"display: block; margin-left: auto; margin-right: auto;\" src=\"http://localhost:3030/uploads/2020/10/9ebae170-0567-11eb-9da1-2bdbf3cca471.jpg\" alt=\"\" width=\"281\" height=\"351\" /></p>\n<p>Lorem Ipsum is simply dummy text of the printing and typesetting industry.</p>", "status": "publish", "trash": false, "createdBy": "1", "updatedBy": null, "createdAt": "2020-10-06T21:39:14.547Z", "updatedAt": "2020-10-06T21:39:14.547Z", "featuredImage": 12 } ], "pagination": { "totalPages": 1, "perPage": 20, "totalCount": 1 }}To retrieve a single post make a GET request to http://localhost:3030/posts/:id for example to retrieve our single post make a GET request to(you post id should be different from ours) http://localhost:3030/posts/1 and the result will be:
{ "content": { "id": 1, "title": "Lorem Ipsum is simply dummy text of the printing and typesetting industry.", "body": "<p>Lorem Ipsum is simply dummy text of the printing and typesetting industry. Lorem Ipsum has been the industry's standard dummy text ever since the 1500s, when an unknown printer took a galley of type and scrambled it to make a type specimen book. It has survived not only five centuries, but also the leap into electronic typesetting, remaining essentially unchanged. It was popularised in the 1960s with the release of Letraset sheets containing Lorem Ipsum passages, and more recently with desktop publishing software like Aldus PageMaker including versions of Lorem Ipsum.</p>\n<p><img style=\"display: block; margin-left: auto; margin-right: auto;\" src=\"http://localhost:3030/uploads/2020/10/9ebae170-0567-11eb-9da1-2bdbf3cca471.jpg\" alt=\"\" width=\"281\" height=\"351\" /></p>\n<p>Lorem Ipsum is simply dummy text of the printing and typesetting industry.</p>", "status": "publish", "trash": false, "createdBy": "1", "updatedBy": null, "createdAt": "2020-10-06T21:39:14.547Z", "updatedAt": "2020-10-06T21:39:14.547Z", "featuredImage": 12 }}